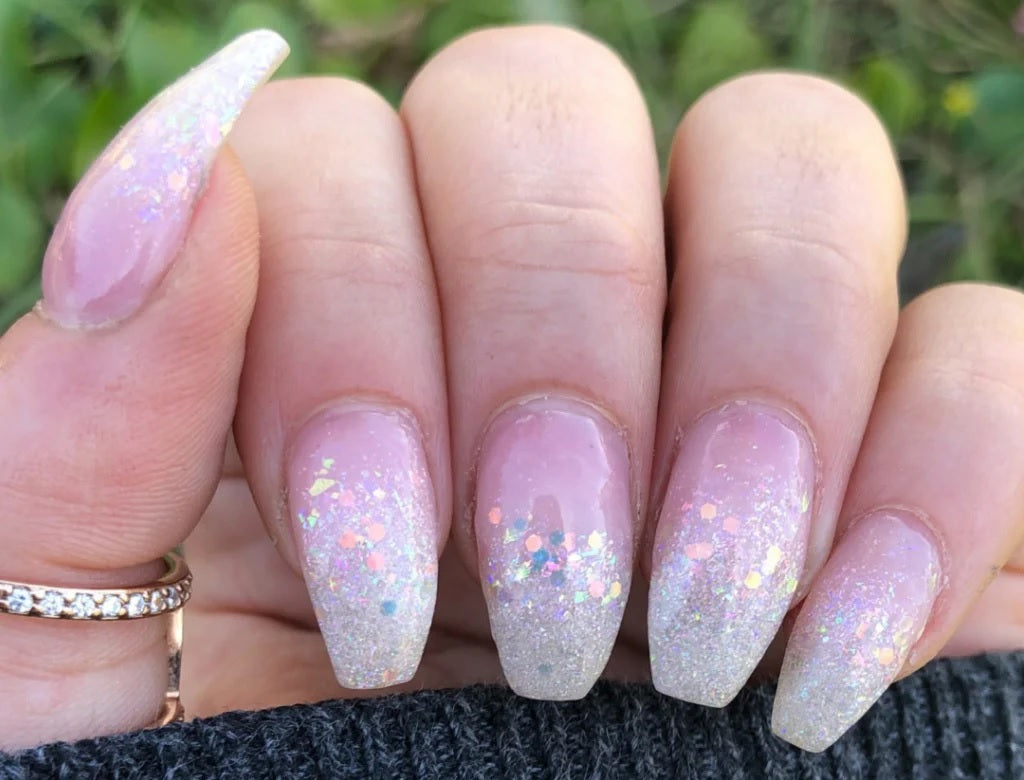
Most of us desire stunning, flawless nails, but regular professional manicures can be pricey and some may not even have the time or patience for bi-weekly nail appointments. If you want a salon-worthy manicure without having to go to the salon, you're in luck because we've created the SNS Dip Powder Kit to get beautiful, salon-worthy nails right at home. Our at home dip powder kit comes with everything you’ll need to give yourself the ultimate dip powder manicure. Continue reading below for all the expert tips and tricks to ensure your at home dip powder nails look like you just came from the salon.
Prep Nails
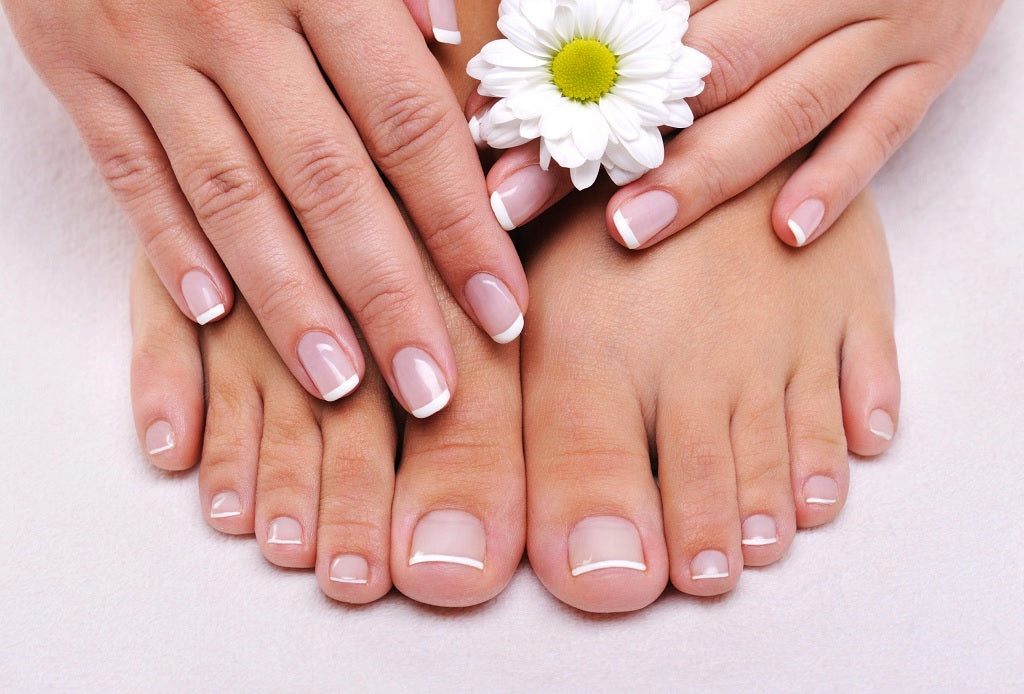
Prepping your nails for any kind of manicure is essential as it creates the perfect canvas for your manicure, whether you're applying gel polish, lacquer, or dip powder. Prepping results in a smooth, even, and long-lasting manicure. First, you’ll want to remove any previously applied nail products. If you have gel polish or dip powder currently on your nails, check out our guide on how to properly remove it. Once you’ve safely removed any nail products you can begin with your nail prep.
Clean
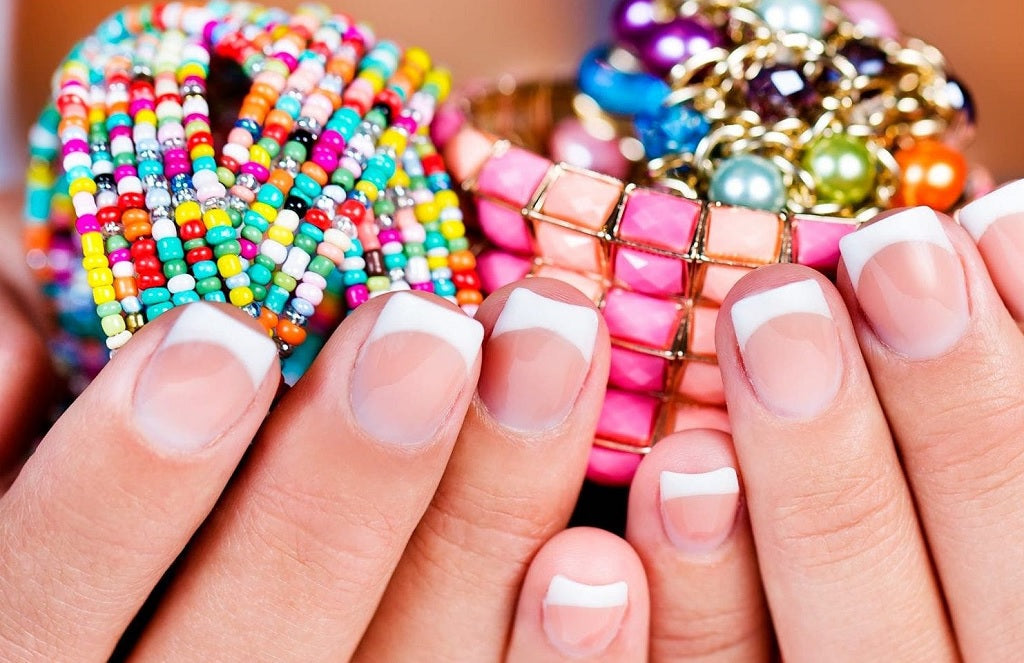
Before beginning your manicure, it’s important to make sure your nails are clean by washing your hands. Then, using a cuticle pusher, gently push back your cuticles. This will help create a smooth surface around your nail beds and give the illusion of a longer nail. When it comes to cuticles, it’s recommended to never cut your cuticles. Cutting them can potentially put you at risk for infection and can also cause your cuticles to grow back jagged and hard. You’ll also want to clean any debris underneath your nails as well.
File
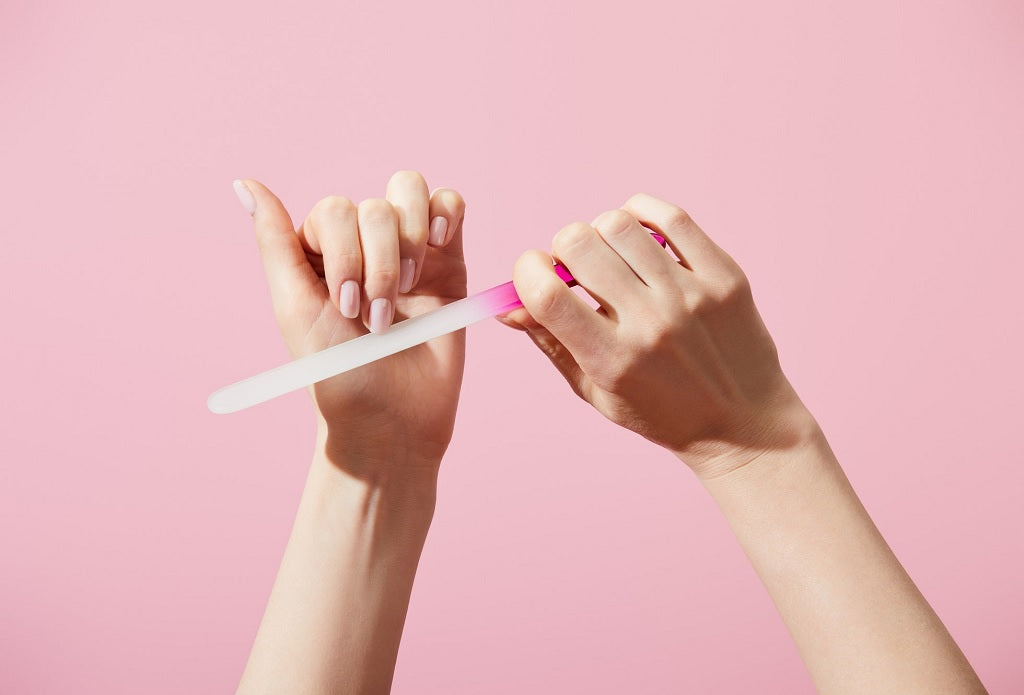
Once you’ve properly cleaned your nails, it’s time to create the perfect shape. Using nail clippers cut any excess length and then using a gentle nail file, file the tips of your nail starting from the outside corner to the center and repeating on the other side. Avoid using a back-and-forth sawing motion as this can weaken your nail and cause them to split or tear. To find the perfect shape, look at our guide to see what your nail shape says about you.
Buff
After filing, gently buff each nail to a smooth, even finish. Buffing removes any imperfections, lines, or ridges in your nail and creates the perfect canvas for your dip powder or polish to adhere to. After you finish buffing, wipe each nail with a cotton pad with alcohol or acetone to remove oils or residue.
Apply Dip Powder Manicure
Now that your nails are prepped, you can begin your dip powder application.
Base Coat (Purple Cap) and Foundation
- Beginning with one hand at a time, apply a thin layer of Dip Base Coat to 3/4 of your nail.
- Immediately dip each nail into the Foundation Powder at a 45 degree angle.
- Remove your nail from the pot and tap your finger to remove excess powder.
- Once all nails have been dipped, use the Dip Powder Dust Brush to remove any excess powder around the nails.
- Add a second layer of Dip Base Coat up to but not over the cuticle line, followed by dipping each nail into the Foundation Powder and tapping to remove excess.
Colored Dip Powder
- Apply another thin layer of Dip Base Coat up to but not over the cuticle line.
- Dip each nail into your desired colored dip powder at a 45 degree angle up to the cuticle line.
- Once all nails have been dipped, remove any excess powder around your nails with the Dip Powder Dust Brush.
- Apply a second layer of the Dip Base Coat and colored dip powder in the steps described above.
Activator (Gray Cap)
- Apply Dip Activator to your entire nail, which activates the hardening process. Before putting the brush back into the Dip Activator, wipe it clean on a lint-free paper towel to prevent any dip powder color from getting into the product.
- Wait 4 minutes for the Activator to dry completely. Use the end of the Dip Powder Dust Brush to lightly tap the nail. If you hear a clicking sound, the nail is dry.
- Using a nail file, gently shape and buff each nail to remove any bumps or ridges, then use a dust brush to remove any dust from your nails.
- Rinse and dry hands with water only. Do not use soap.
- Apply a second coat of Dip Activatorand wait 3 minutes for your nail to dry completely.
Top Coat (Red Cap)
- Apply a thin layer of Top Coat to your entire nail, ensuring you seal the edges of each nail and wait 3 minutes for your nails to dry.
- Apply a second layer of Top Coat to each nail and wait for it to dry completely.
After Care
While aftercare may not be necessary, it’s super important to keep your nails looking beautiful and healthy. Proper aftercare can even extend the length of your mani for over 2 weeks! Apply the Signature Serum (yellow cap) to the cuticle line of each nail and massage gently and apply a moisturizing hand cream. Follow our other expert tips to give your mani lasting power and ensure its always looking its best.