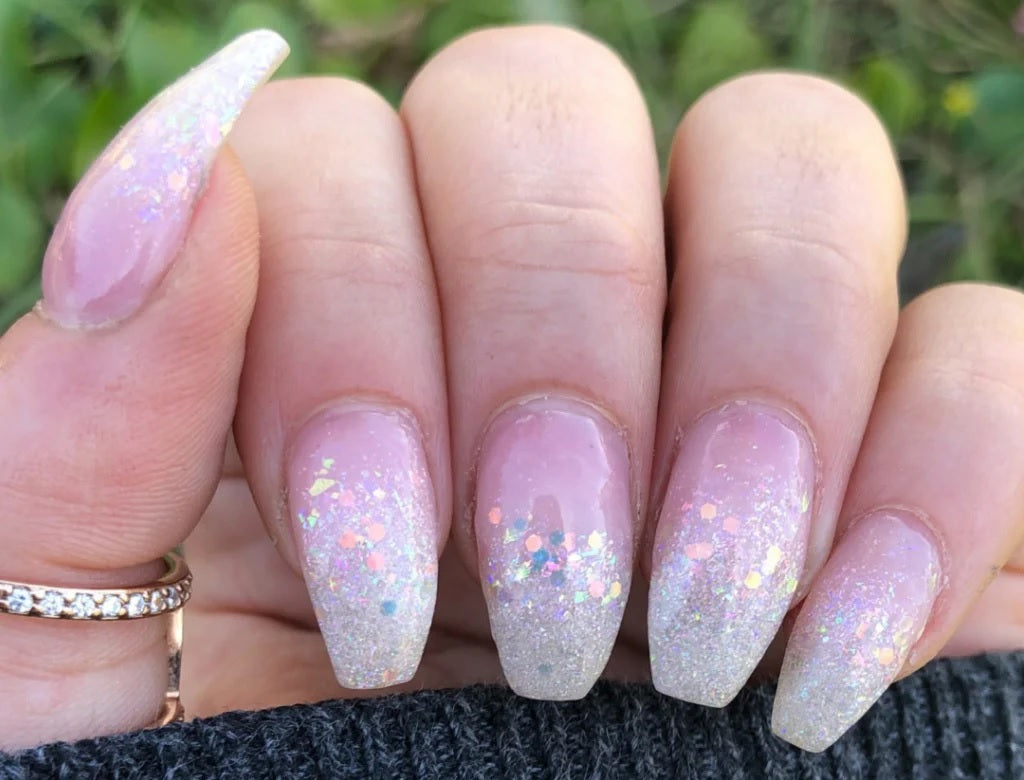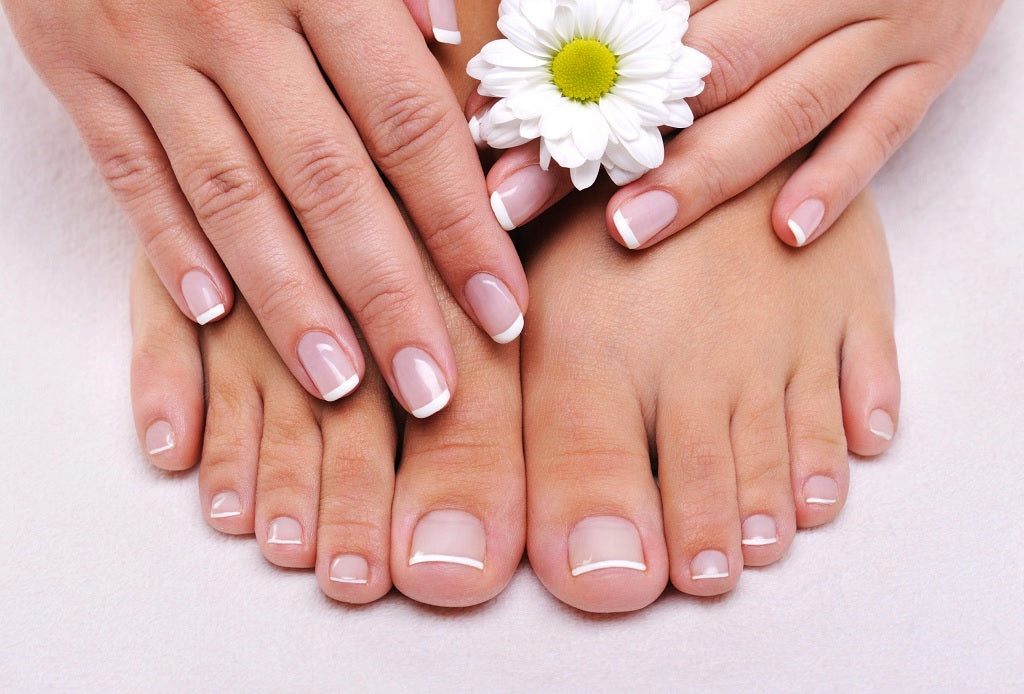
You no longer need to book in at the salon to get a gorgeous French manicure. With the SNS French Manicure Dip Powder Kit, giving yourself a beautiful, professional-looking French manicure at home has never been easier. The kit provides everything you need to get started. Carefully follow the instructions below to create a flawless Dip Powder manicure that can last 2+ weeks!
Prep Your Nails
Before applying a dip powder manicure, it's important to prep your nails to ensure the product goes on smoothly and will last.
- Remove any nail products from your nails. If you currently have gel or dip powder on your nails, follow this guide on how to safely and effectively remove it.
- Trim and file your nails to your desired shape.
- Soak your hands in warm water with a mild soap.
- With a cuticle pusher, gently push down your cuticles. It’s important not to rip, tear, cut, or force the cuticle as this can cause damage to your nail bed and risks infection.
- Lightly buff the nails to create a smooth, even surface which will ensure a smooth application.
- Remove any residue or oil from your nails with a nail prep bad or cotton soaked in alcohol.
Base Coat
- Begin with one hand at a time and apply a thin layer of the Dip Base Coat, which has a purple cap to 3/4 of the nail.
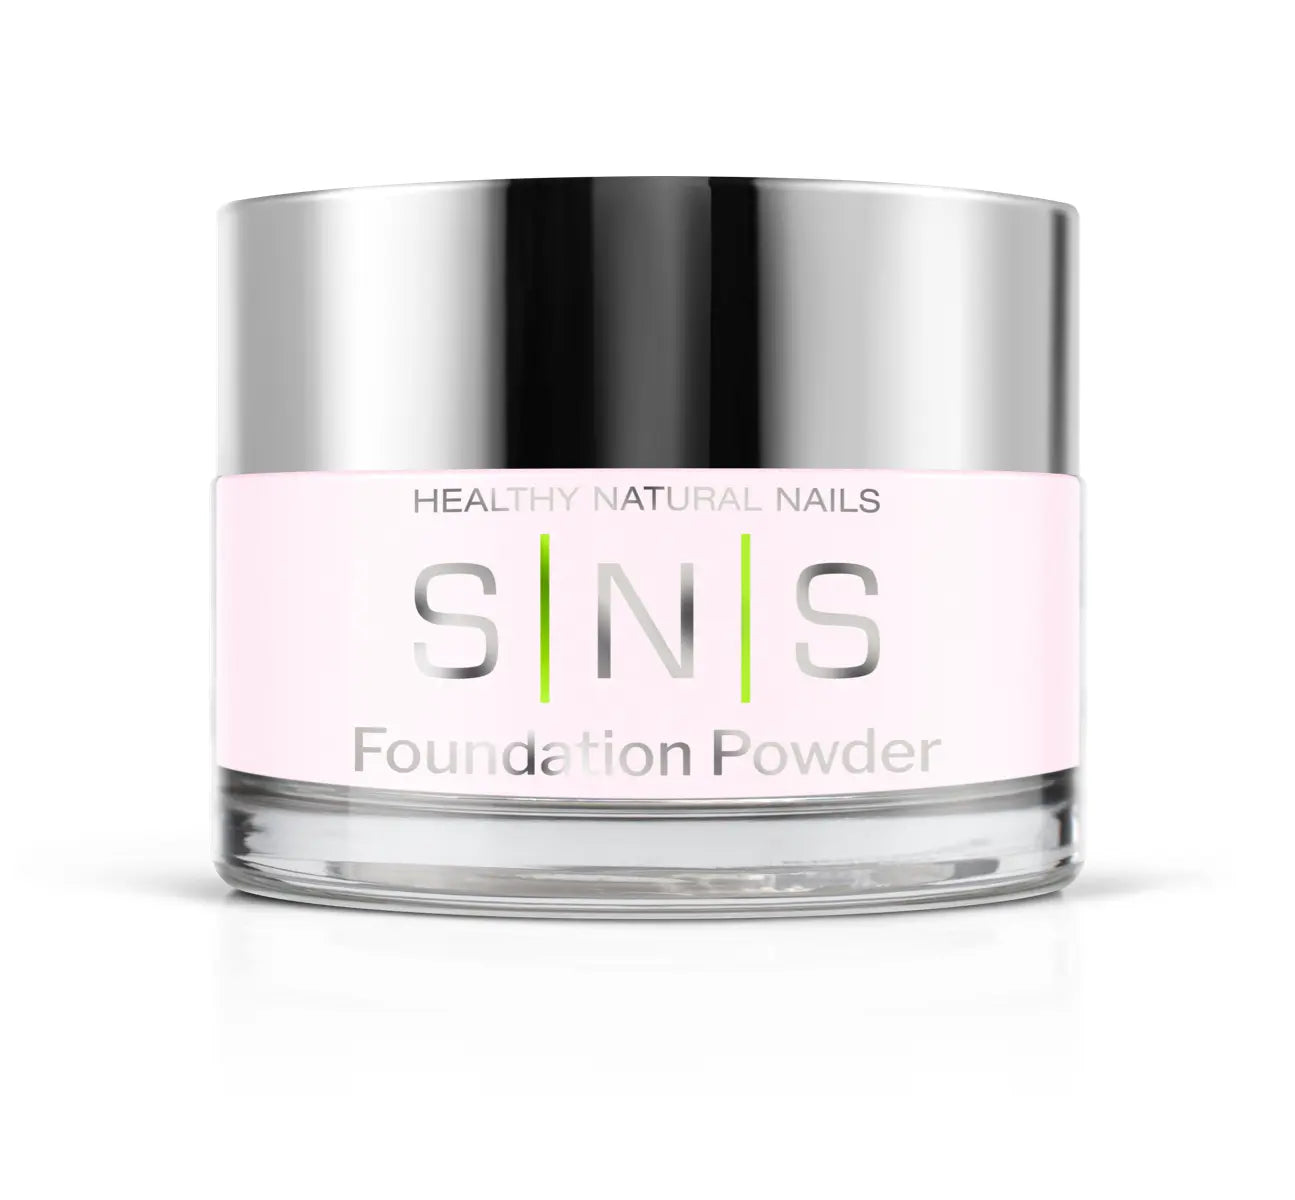
- Immediately dip the nail into the Foundation Powder at a 45-degree angle.
- Tap excess powder off the finger and move on to the next nail.
- Once all nails have been dipped, use the Dip Powder Dust Brush to dust off any residual powder from the edges and fingertips.
- Repeat the above steps again on each nail but this time, only applying the Dip Base Coat up to the cuticle line.
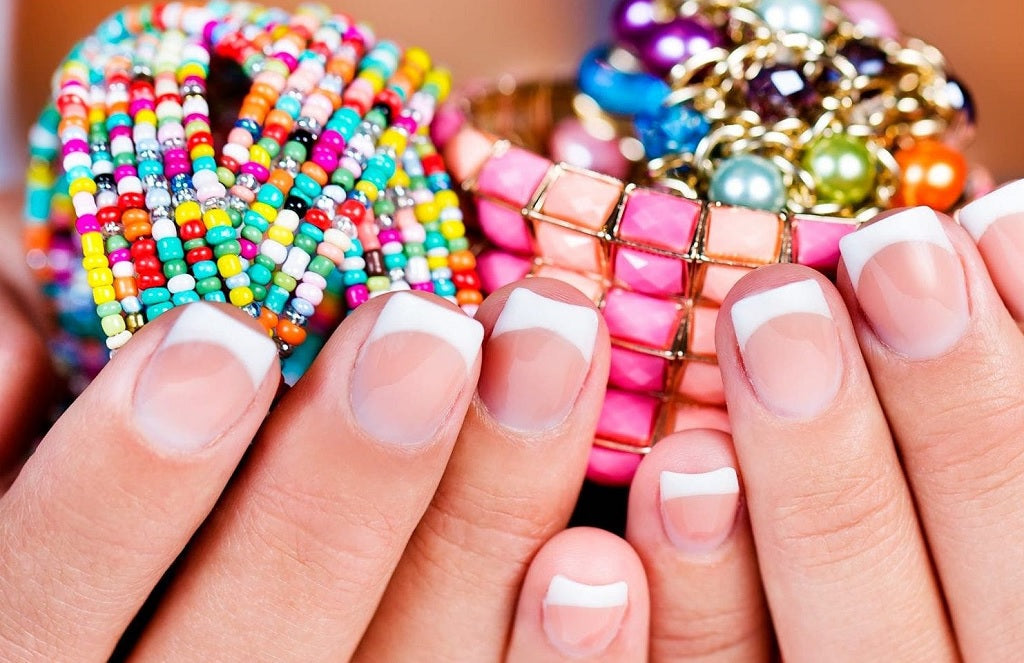
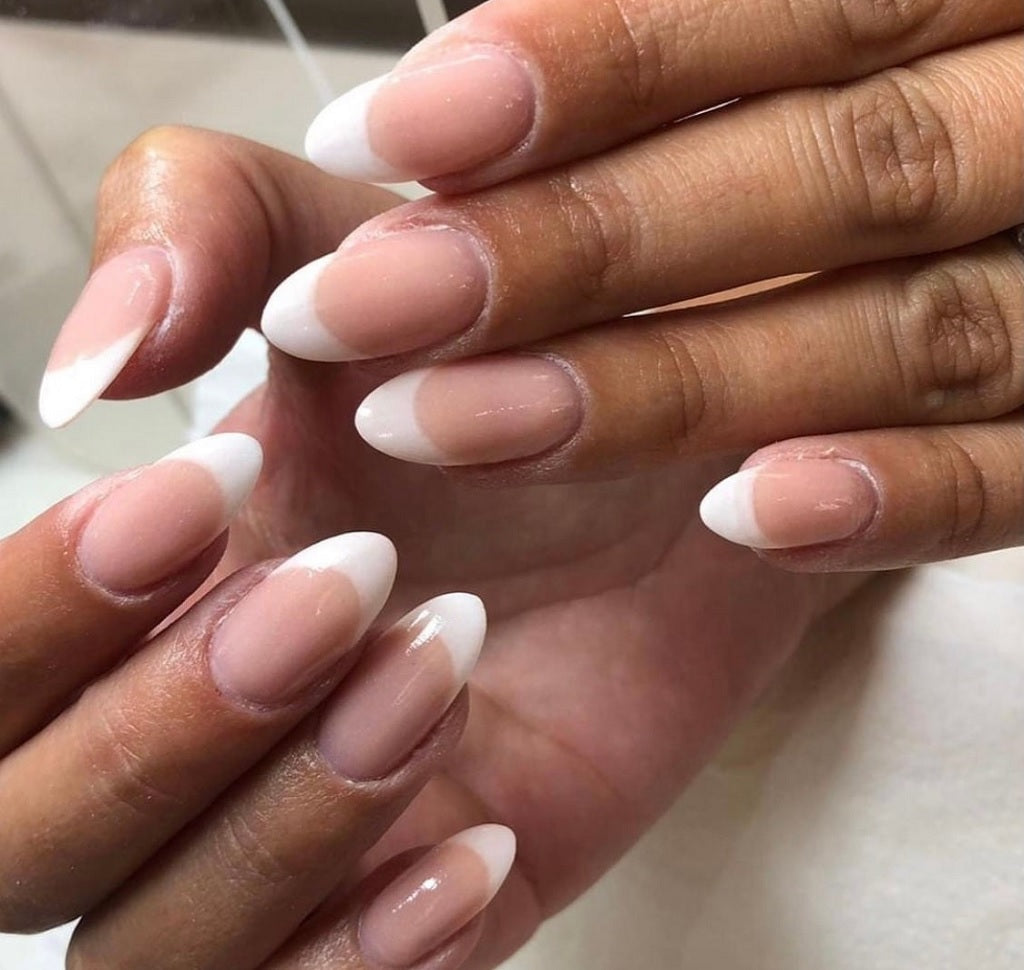
French Tip
- Pour Classic White Powder into the French Manicure Mold until 1/2 full.
- Apply another thin layer of Dip Base Coat up until 2mm from the cuticle line.
- Dip finger into the French Manicure Mold filled with Classic White Powder to create a French tip smile line.
- Dip the entire nail into Soft Pink Powder.
- Tap finger, then use Dip Powder Brush to gently dust off any excess powder around the nail and move onto the next nail.
- Apply another layer of Dip Base Coat up until 2mm from the cuticle line.
- Once again, dip the tip of the nail into the Classic White Powder to create a smile line, then dip the entire nail into the Soft Pink Powder.
- Dust off any excess around the nail with the Dip Powder Brush and move on to the next nail.
Activator
- Apply Dip Activator, which has a gray cap, to the entire nail.
- Before placing the brush back into the Dip Activator, wipe the brush on a lint-free towel to prevent any powder from getting into the Activator and move onto the next nail.
- Wait 4 minutes for the Dip Activator to dry completely. Test this by gently tapping the end of the Dust Brush onto the surface of the nail. A click sound will indicate that the nail is dry.
- Using a file and nail buffer, gently shape and buff any bumps or ridges to create a smooth, even surface.
- Use the Dust Brush to dust off any residual powder.
- Rinse and dry hands using only water. Do NOT use soap.
- Apply a second coat of Dip Activator to each nail.
- Wait roughly 3 minutes for the nails to be dry completely.
- Before placing the brush back into the Dip Activator, wipe the brush on a lint-free towel to prevent any powder from getting into the Activator.
Top Coat
- Brush a thin layer of Dip Top Coat, which has a red cap, onto the entire nail ensuring to seal each nail edge and move onto the next nail.
- Wait roughly 3 minutes for the nails to dry completely.
- Apply a second coat of Dip Top Coat to each nail and wait for it to dry completely.
- Apply Signature Serum, which has a yellow cap, to the cuticle and massage gently.
Repeat the entire process on the other hand.
For those that prefer to watch a tutorial, check out the SNS French Manicure video instructions.